Perfect Thanksgiving Turkey
Perfect Thanksgiving Turkey is so fast and easy to make! – Said nobody, ever. Well, read on, because I’m going to tell you exactly how I make a perfectly juicy, crispy-skinned turkey every time in any home oven without it taking all day. You can practice on a chicken. You may never go back – I know I won’t! This is less of a recipe and more of a technique that I learned from one of my favorite chefs on YouTube, Jacob Burton. So, I’m going to talk a little bit about it first.
WTF is spatchcocking?
Spatchcocking a turkey, or a chicken, is basically just cutting the backbone out so the bird can lay flat. Many people think the turkey cooks more evenly by stuffing it and trussing it up in a ball. But that couldn’t be further from the truth. Sure, it makes a pretty bird on the platter, but it’s tough to carve, and the center cavity is more insulated when the bird’s balled up. By flattening it out, we make it more even thickness, so it cooks more evenly and requires less time. And because it takes less time, your bird will be far juicier by the time it reaches temperature.
Let’s talk about crispy skin
Crispy skin might actually be the hardest part to achieve for a perfect thanksgiving turkey. But once it’s spatchcocked, it’s even easier. First, you tighten up the skin a bit by ladling boiling water over it. This will release some of the collagen and help make a crispier skin. Then, you salt it well. Keep in mind, your bird’s probably 12-20 lbs., so don’t be afraid to salt it well. Flip it over, and salt the meat side, too. Place it meat-side down on a wire rack on a sheet pan, then put the bird in the refrigerator for 12-24 hrs. The low humidity environment of your refrigerator will help to dry out the skin, while the salt pulls excess water out. The key to crispy skin is it being very dry. There’s enough fat in the skin that you don’t need to oil it, but you can if you wish.
Cooking the perfect Thanksgiving turkey
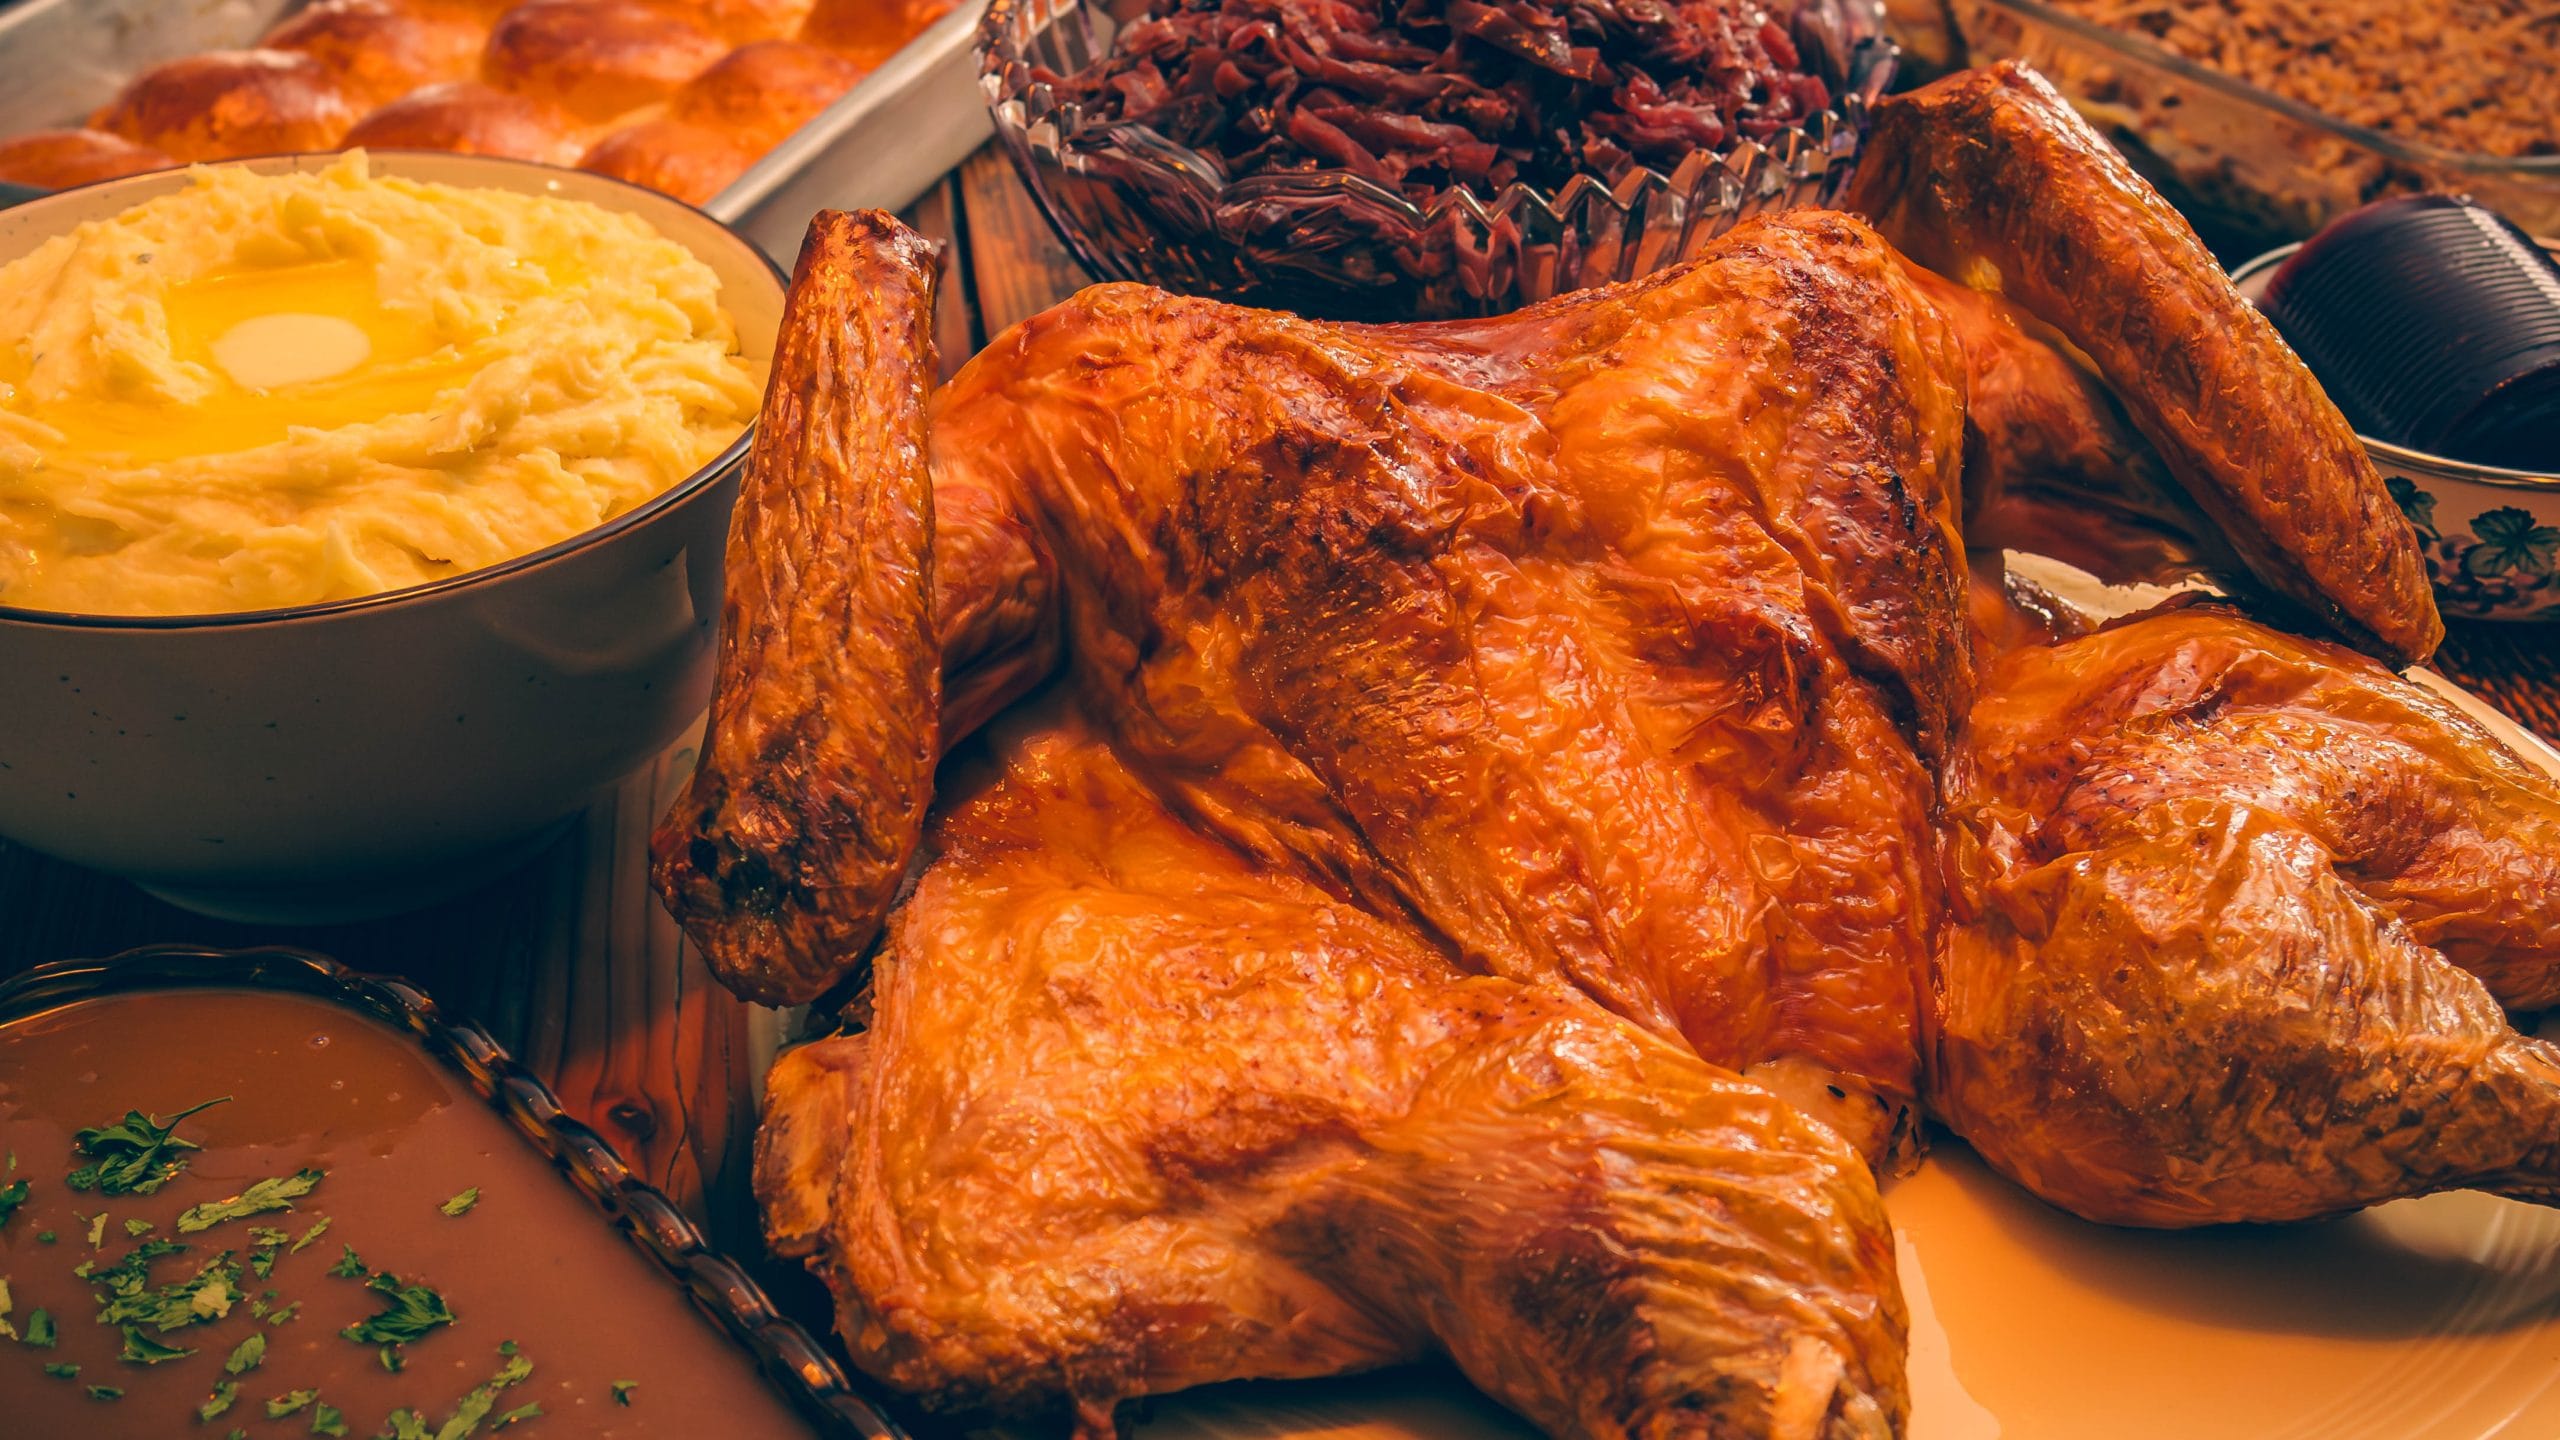
Listen, don’t be surprised how quickly this bird bakes. The turkey in the photo was 14 lbs., baked at 450ºF (232ºC), and it only took 1 hour and 4 minutes on the dot to reach 150ºF (65ºC) measured at the thickest part of the breast. The turkey in the photo wasn’t the best shaped turkey, so it appears to have loose skin, but I promise you it was super crispy! As you can see above, I baked a 20 lb. turkey this way in a completely different oven, and it only took 2 hours on the dot. No matter what, you’ll benefit by using some kind of BBQ thermometer that you can leave in while it’s baking.
Perfect Thanksgiving Turkey
Perfect Thanksgiving Turkey that’s juicy with crispy skin can be a tough task to accomplish, but if you follow these 10 steps, you’ll go from balled-up turkey to a gorgeous platter in only a few hours!
- Prep Time24 hr
- Cook Time2 hr
- Resting Time1 hr
- Total Time27 hr
Ingredients
- Whole Turkey
- Kosher Salt
- 1-2 Quarts Boiling Water
- Seasoning, optional
Method
Using scissors or a knife, carefully cut out the backbone of the turkey. Sometimes it’s hard to cut through the hip portion, so go slowly. Set the backbone, the gizzards, and the tail to the side.
Flip the turkey cut-side down and gently press on the breastbone as if you’re doing CPR. It’ll crack and flatten out. Tuck the wings under the turkey and arrange the legs like it’s doing the splits.
Place in a sink or on a sheet pan and ladle boiled water all over the skin to render collagen & tighten skin up. This will help the skin get even crispier during baking.
Salt both sides well, place on a wire rack or sheet pan and let rest uncovered in fridge overnight (12-24hrs). It’s going to put off some liquid. If you don’t have a wire rack, you can use a carrot cut lengthwise to elevate the turkey from the pan. Remove the turkey 1 hour before baking to allow it to come to room temperature.
Preheat your oven to 450ºF (232ºC).
Add water and/or wine at bottom of roasting pan. You can experiment with fresh herbs, too.
Bake until the turkey reaches 150ºF (65ºC) measured at the thickest part of the breast. Baking time will vary by the weight of the turkey, but you’ll be shocked at how quickly it bakes. Rest for 40-60 minutes before carving.
To carve the turkey, first remove the legs and thighs. You can then slice through the joint to separate them. Place the legs on your platter, then cut out the thigh bone and any cartilage. Slice the thigh meat across the grain and place on the platter.
Remove the wings and cut the wing tips off. Save those for stock and place the wings on the platter.
Cut the breast meat out from the breastbone. It’s easiest to slice the breast meat for serving by removing the tenders underneath each breast, then flipping skin-side down on your cutting board, and slice across the grain.


One Comment