Fermentation: Not spoiled or rotten.
I’m not sure what got me into fermenting, but revisiting sauerkraut was the most likely motivation. I scoured through the internet for hours, reading articles and watching videos on the fermentation process. The microbial rabbit hole I found sucked me right in. I’ll forewarn you that this is a long form article, especially for me, but it’s just the gist of the information behind fermenting. Hopefully you’ll get sucked in, too.
To understand what happens during the fermentation process itself, I looked up all that I could find online. What exactly is the science behind fermentation and why does it work that way? If I could learn that I could steer the ship towards whatever direction I was able to within some degree. That knowledge would empower me to create a flavor structure that would work for whatever my application is.
I’ll try not to get too technical, but I’m going to outline fermentation: what it is and how it works. It’s important to understand that tiny beneficial organisms can create massive colonies when put in the ideal conditions. Those same conditions inhibit bad organisms from growing. We’ll run through fermenting a simple sauerkraut too, but we should start at the beginning.
Food Preservation
Why do we still preserve food, anyway? We definitely don’t have the issues of the past, like refrigeration. Now we have the science to explain what’s going on and why. Definitely easier compared to our ancestors, right? They didn’t know why the things they were doing actually worked most of the time, they just knew it worked. We still preserve food for that amazing flavor that comes with fermentation.
I won’t bore you with the history that’s already out there about how the Union Army fought to control the salt facilities that supplied the Rebel Army with the mineral required to preserve their food for survival during the civil war among many other uses. Or about how Napoleon offered a 12,000-franc reward for anyone who could devise portable and stable meals for his army to survive after they invaded countries unable or unwilling to feed them in the Napoleonic wars. You probably already know that, anyway, right?
We preserve food to make it last the duration of winter when the plants can’t offer us the same quantity and quality of nutrients. Almost all of the foods on the grocery isles today are preserved in one way or another. They have stabilizers to help the food stay as fresh as possible while it sits on the shelf. That’s why we get into the science of it– to see what is needed to preserve better and longer.
Sodium Chloride
Yes, there is something to be said about the salt you’re using. There’s a little bit we need to unpack about salt, its contents and its shape. Sodium Chloride, or NaCl, refers to the 1:1 ratio of Sodium and Chloride ions. In the fermentation process we use salt to create an environment which favors good bacteria. Many of the bad microorganisms can’t survive as the salt draws out any water in their cell walls and they die.
Choosing your salt is sort of up to you. I’m sure you’ll find success with your first fermentation whatever your choice is. In order to make an informed decision, though, let’s look at what’s commonly available to us for just a second.
Regular Table Salt
Table salt is a small, cube shaped granule with added anti-caking agents. Without the anti-caking agents, the salt can absorb the moisture in the atmosphere and begin to clump up. Some of these agents can be detrimental to the fermentation process, and that is why most recommendations are to stay away from table salt.
Iodized Salt
Due to a widespread iodine deficiency in the 1920’s causing goiters (an enlargement of the thyroid gland), we began to fortify iodine in the salt to combat the deficiency, as it’s an essential micronutrient and is the leading preventable cause of mental retardation. Iodized salt is still used today to combat the effects of Iodine deficiency. Iodine tends to inhibit the favorable bacteria that we’re trying to create a cozy home for. That’s why Iodized salt is not typically chosen for fermenting.
“Iodine deficiency remains the single greatest cause of preventable brain damage and mental retardation worldwide.”
Canning & Pickling Salt
Canning and Pickling salt is pure sodium chloride in a cubed granular form like the other salts above but does not contain any anti-caking agents that can make pickling liquid cloudy. It doesn’t contain an Iodine additive, and as a result won’t turn your pickles dark.
Kosher Salt
Kosher salt is what I use for all my day-to-day cooking, breads and all my ferments. It has a completely different texture than all of the other salts listed above because it’s flakier and has a rough surface. Kosher salt is literally made to stick on meat better; there’s Jewish law that all meat must have all the blood removed before eating. This salt is easier to pinch and grab, but it doesn’t dissolve as easily the same as the others mentioned above.
It’s important to understand that kosher salt doesn’t measure the same as table, iodized, or canning salt. I bring this up because it seems to be a major dog-ear in my culinary journey. Please allow my man Chef John to explain the difference, and why it matters.
A Tale of Two Salts – Difference between Table Salt & Kosher Salt in Recipes by Chef John from FoodWishes
Sea Salts
Fine, coarse, pink Himalayan, black Hawaiian and other salts of this nature are derived from evaporating sea water. There are lots of trace minerals in some of these salts that people tend to promote hype about. Coincidentally, many of these people aren’t worried about the trace radioactive minerals such as radium, uranium, and polonium these salts also contain.
In this article by Harriet Hall, MD, mainly talking about studies in daily sodium intake and deficiencies, Dr. Hall talks specifically about the trace minerals in Himalayan Pink Sea Salt. Scroll to the bottom if you want to read about the minerals, but I suggest reading the whole article.
Dihydrogen Monoxide
There are a couple things to consider when deciding what water to use in fermenting. Municipal (tap), bottled, distilled, purified- there’s a couple different things to point out. You can base your water decision off a variety of factors.
Tap Water
Tap water can be collected in various different ways, from wells to spring water. Sometimes this results in water that is extremely high in minerals, making it ‘hard water’. Having too hard of water can cause an issue for fermenting. Other times, the water might not have enough minerals to support it.
Most municipal water is treated with some type of chemical to neutralize any threats from bad molecules. This can also neutralize our friends we’re trying to grow. You can check with your water provider to check the quality of your tap water if you’re curious.
Bottled Water
Bottled water can be a toss-up. Sometimes it’s just tap water put into a bottle. Other times it’s distilled, and sometimes it’s got added minerals. Typically, a bottled water will work just fine, but in my opinion, it’s just too expensive to use for fermentation if you’ll be fermenting a lot. If you avoid the water bottled from municipal sources, I’m sure you’ll be fine, but I still think it’s cheaper to go one of the two following routes.
Purified Water
Purified water has undergone a process that removes any impurities, making it safe to drink. This type of water can undergo one of many different types of purification: carbon filtration, reverse osmosis, deionization, and also distillation. You can usually find it in the grocery store for around $1-2 per gallon.
Distilled Water
Distilled water is just that- distilled. It’s been boiled to convert it into its gaseous form, then condensed back into good ol’ H2O. When this happens, the water leaves behind any impurities, making it clean and safe to drink. For this reason, distilled water is a type of purified water. Same with the purified water above, you can usually find gallons of distilled water for $1-2 each.
I usually use distilled water but have recently discovered that my tap water is just fine for fermenting and feeding my sourdough starter. So, it all depends- if you want to be extra safe that your fermentation will work out, spend a dollar or two and grab a gallon of purified water.
Lactobacillus Bacteria
Lactobacillus is a genus of bacteria that pretty much fucking rocks. Without them, we don’t have beer, bread, cheese, pickles or chocolate. Named for their discovery in milk, the salt-tolerant Lactobacillus bacteria convert glucose into lactic acid while preserving vitamin and enzyme levels in the process. They are a natural preservative, which aids in digestibility and flavor. Below is a time-lapse video of the bacteria multiplying.
Fun Fact: Xanthan Gum is a polysaccharide derived from fermenting simple sugars using the bacteria Xanthomanoas campestris and a variety of different crop sources. Soybean proteins, corn or wheat starches are the crops typically used.
Lactobacillus – Time Lapse Photography from Naked Science showing the lactobacillus bacteria during fermentation.
Yeast in fermentation
While I’m not going to go into detail about yeast, it can be present in fermentation. Think about sourdough and beer, where we intentionally inoculate our fermentation with yeast. One type of yeast that can be present is called ‘kahm yeast’ and can grow a strange white layer on top of your lacto-fermentation. Kahm yeast may give off a less-than-desirable smell, but it’s not dangerous.
Kahm yeast can grow for a number of different reasons. Many people address it in a variety of different ways. You can skim it off daily or periodically with a spoon, but it’s sort of difficult to get all of it, especially around the edges. Sometimes you might want to do this if the smell is too off for your nose. Apparently, it can alter the flavor a bit on the veggies immediately touching the layer, too.
You can also choose to leave it alone until it comes time to process or halt your ferment. Whatever your choice is, kahm yeast can form from low salinity, too warm of an environment, or if the equipment used wasn’t quite sanitized enough.
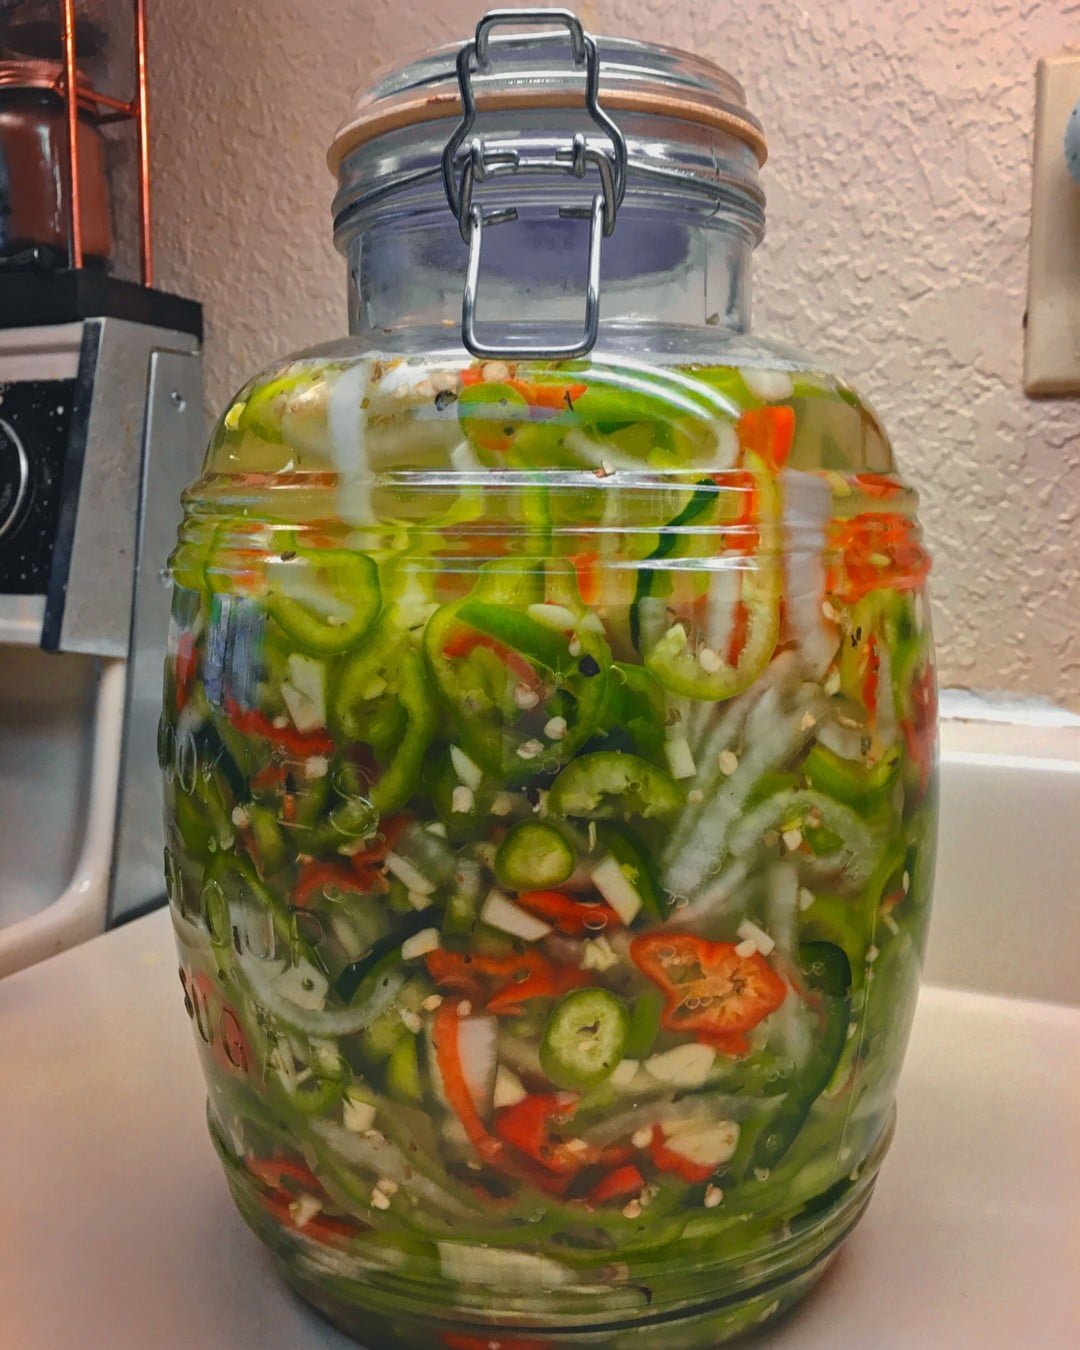
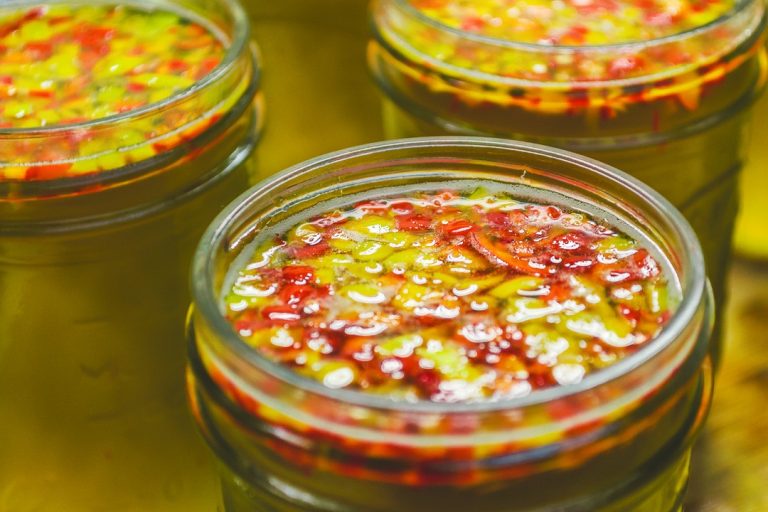
As you can see from the picture above, I’ve got kahm yeast on my hot sauce ferment, most likely due to the hotter climate during summer. I had been scraping it off daily but decided to fill with extra water to get the yeast layer raised off the sides, then I used a 2 oz. ladle to skim it all off. Afterwards, I replenished with heavily salted water to increase salinity, and I also added some extra salt directly to the brine to help prevent the yeast from regrowing.
Fermentation Process
With that out of the way, on to the cool shit- fermentation! This is the process of the Lactobacillus bacteria converting the carbohydrates to lactic acid. More specifically, it’s a metabolic process of converting glucose into either lactic acid or an alcohol.
You’ll begin with good water to create an anaerobic environment for our friends to thrive. Without the presence of oxygen, mold can’t grow. Creating a high salinity environment means the bad microorganisms can’t grow. I use 1000g of water to start. If you’re not weighing, 2% brine is roughly 1 Tbsp of salt to every pint of water, 2 Tbsp for every quart, and so on.
You probably need a brine
A 2-5% brine is sufficient for most of your vegetables. I typically make a 2% brine by weighing out 20g of salt and dissolving it in 1000g of water. If you need a 3% brine, add 30g salt to 1000g of water, etc.
Lots of people make their brines by eye, some to taste. This seems to work just fine for them, but remember, you’re not salting to taste- you’re salting for fermentation. Add a good amount! Either way, pour your brine over the vegetables you’re trying to ferment until they’re all submerged.
Sometimes, as in the case of sauerkraut, you can omit the brined water if you’d like. Cabbage contains enough water naturally that you just add salt directly to the cabbage, which will draw out enough water to create an anaerobic environment and cover the mixture.
Make sauerkraut!
There are many different organisms and yeasts living on most vegetables already. When the salt draws the water out of the cellular walls of bad bacteria and other organisms who can’t survive in a high salinity anaerobic environment, they die out and we’re left with the organisms that can survive.
Eventually, the colony will be large enough to produce CO2 bubbles that will get stronger by the day. The Carbon Dioxide gas is produced when the glucose gets converted, releasing the CO2. The carbon dioxide activity should begin anywhere from 2-3 days after you’ve submerged your veggies.
Cut a head of cabbage in strips sized to your liking and keep the root-end intact and large enough to weigh down the cabbage strips and keep them below the water line. Remember, mold forms with air exposure, so keep those veggies below the water line. You can purchase different kinds of weights to do this, but the root-end or a whole cabbage leaf is a perfect option.
Smash that cabbage
This helps to break up the cellular structure to release all of the sugars and water to make it available to the salt. This also gets rid of any little oxygen bubbles in there. Remember, it’s an anaerobic environment! Use whatever utensil you can find; I use a cheap solid “French-style” rolling pin I got at the dollar store.
As you tamp down the cabbage, you’ll notice the water level begins to rise and cover the cabbage. Add cabbage and salt in alternating layers, then smash down and repeat. You’ll want to add any flavorings during this process, so it gets evenly distributed with the salt. Let it sit out at room temperature, ~70ºF.
Keep an eye on your fermentation
Check your fermentation daily, and make sure to keep everything submerged to prevent mold any from growing. Use the root-end or a leaf of the cabbage as mentioned above to hold it all down. Remove any random little floaters left and keep your eye on it for about a week. Smell your ferment daily to get a feel for how it evolves over time.
Taste it every day
It’s just salted cabbage, after all. You’ll notice the flavor change as it goes on. Also, you can stop the fermentation as soon as you like the taste, but I recommend at least 1 week of fermentation before you halt it. The lower temperatures in your fridge will slow the fermentation process quite a bit, and it’ll keep for a while like that. It’s preserved, but over time it will become too mushy to the palette, and you should probably toss it after a month or two.
I was unsuccessful with my first two batches of sauerkraut for a few different reasons. My third, however, I added black peppercorns and garlic and made sure I did it right. It’s sitting in my fridge now, and it’s got a great flavor. I rarely use it though, and I’ve chocked it up to an experiment.
I’m glad to see you all the way down here, this is the longest thing I’ve probably ever written. This won’t be my only long article, either. I haven’t even begun to bore you about bread yet. Don’t worry, it’s coming. I might turn that one into multiple articles, though, what do you think?
Be sure to let me know if you like these kind of long form articles, and if you try any fermentation experiments. They can be delicious with a little patience.


